|

The
Spitfire is one of the most elegant airplanes ever flown. The original
Merlin powered Spitfire is a beautiful thing to see in the air.
And
the later Griffon engine Spitfires are long and sleek and wickedly
powerful. They look like they are moving 400 mph even when they are parked
on the ground.
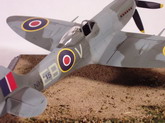
This
model is the Academy Spitfire FR XIVe. I wanted a straight fighter, so the
camera port was filled in. Details were added to the cockpit; canopy
crank, oxygen hose, harness and such. Rollover support and fuel filer were
refined a bit. Everything painted up with an oil wash and dry brushing to
weather. I wasn't happy with the lines of the nose - it looked
clunky to me. So I sanded everything down following line drawings. The
spinner had to be turned on a drill motor to match the nose. And the prop
blades were extended and contoured, too. Exhaust stacks were drilled out,
elevators were cut apart and repositioned. Cannon barrels drilled, Tail
wheel turned for a more candid appearance. Wings and tail added and it's
time to paint.
|
Click on
images below to see larger images
|
|
|
The
model was painted following a picture of an aircraft with the 2nd Tactical
Air Force, early 1945.
Testor's
Modelmaster paints were used throughout the build. All the paint was
lightened a bit with white before spraying. After masking the windscreen
and wheel wells, the undersurface grey was shot as a primer. When I was
happy with everything, yellow wing ID band were added. More masking and
topside grey went on. Camo pattern was masked and Dark Green was
airbrushed. The fuselage band in the picture was obviously painted over,
so I added more original color back into the paint mix and sprayed that
area to match. Markings were next. They were a mix of spare decals,
stencils and home made off the printer. Once they were in place a coat of
clear sealed everything. Weathering was a mix of washes and glazes to add
a bit of dirt, paint fade and scuffing, and add highlight to control
surfaces and panels. A few places got darker, fuller color blended back in
by hand brush. And a few rain marks streaked on with a glaze. Pastels were
used for a little exhaust staining and dirt.
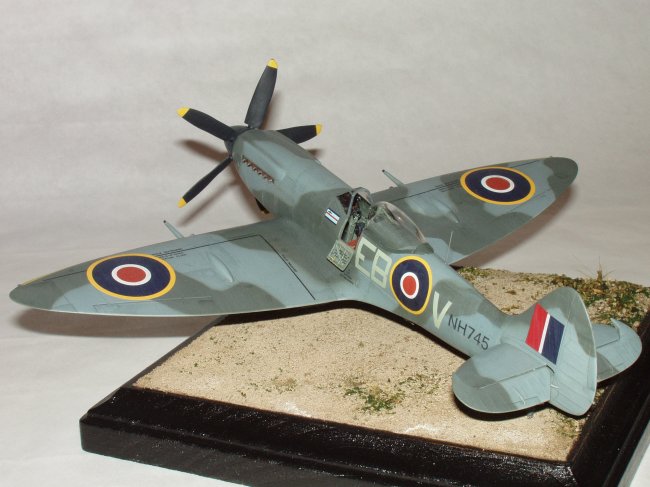
Main gear and covers
were installed and antennas were added to finish the build. The model was pinned
onto a simple base with some groundwork.
Joe Nassi
|